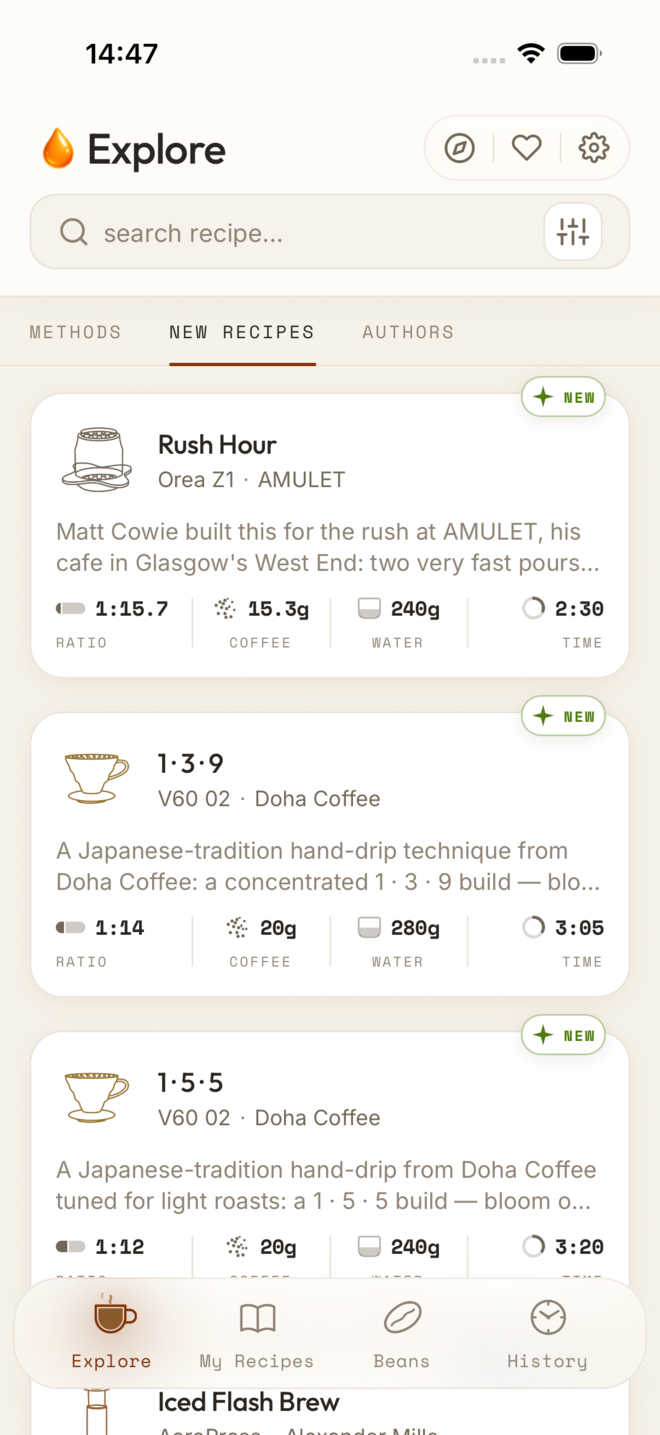
Pour-over becomes repeatable when you control a few variables and let taste guide the final adjustment. This guide gives you one dependable starting recipe, explains what each choice changes, and shows you how to correct the next brew without changing everything at once.
What pour-over coffee is
Pour-over is manual percolation: gravity moves fresh hot water through a bed of ground coffee, and a paper or reusable filter separates the drink from the grounds. V60, Kalita Wave, Chemex, and Origami all use this principle, even though their shape and flow differ.
This guide covers that gravity-filter workflow. AeroPress is an immersion-pressure hybrid, and French press is an immersion brewer, so neither follows the same universal pouring and drawdown sequence. See filter vs immersion for the practical differences.
A quick pour-over recipe
Use this as a baseline for one cup:
- Coffee: 15 g
- Water: 240 g at about 93 °C
- Grind: medium-fine
- Bloom: 45 g for 30-45 seconds
- Main pours: controlled pours until the scale reads 240 g
- Total brew time: aim around 2:30-3:15, then judge by taste rather than the stopwatch alone
This is a 1:16 coffee-to-water ratio. Different papers, grinders, coffees, and drippers may run faster or slower, but the recipe is a useful common starting point.
Equipment and water that matter
You need practical tools, not an expensive matching setup:
- Fresh coffee: choose whole beans with a roast date when possible. Coffee changes as it rests, but there is no single age limit that suits every roast.
- Burr grinder: a consistent grind makes flow and extraction easier to repeat. A capable hand grinder or electric grinder can both work well.
- Dripper and matching filter: use a V60, Kalita Wave, Chemex, Origami, or another manual gravity dripper with the correct paper or reusable filter.
- Scale and timer: weighing coffee and water is more repeatable than scoops or volume marks. A separate phone timer is fine.
- Kettle: any safe kettle can brew coffee. A gooseneck kettle makes a slow, precise stream easier, but it is not mandatory.
- Water: start with clean water that tastes pleasant on its own. If tap water smells strongly of chlorine or leaves heavy scale, filtered water is a sensible next step. You do not need custom mineral packets to begin.
The grinder and fresh coffee usually matter more than the dripper's price or material. For a broader overview, see brewing equipment; for advanced water diagnosis, see water minerality.
The step-by-step workflow
- Heat the water. Bring at least 300 g to about 93 °C so you have enough to rinse the filter and brew.
- Prepare the brewer. Place the filter in the dripper. Rinse it with hot water if the paper needs it, then discard the rinse water and put the brewer and cup or server on the scale.
- Grind and dose. Grind 15 g of coffee medium-fine, add it to the filter, and gently level the bed.
- Tare and start the timer. Pour 45 g of water, making sure all the grounds become wet. A gentle swirl can help saturate dry pockets.
- Bloom for 30-45 seconds. This first pour lets trapped gas escape and prepares the bed for more even flow. The full explanation is in the bloom.
- Pour to about 140 g. Use a low, steady stream and controlled spirals over the coffee bed. Avoid pouring directly onto the paper wall.
- Continue to 240 g. Add the remaining water in one controlled pour or a few consistent pulses. Keep the water level stable rather than flooding the brewer.
- Let the brew draw down. Stop the timer when water has mostly left the bed. Around 2:30-3:15 is a useful first target for this dose, not a pass-fail rule.
- Swirl, taste, and note the result. Mix the finished drink, let it cool enough to taste clearly, and record the recipe before changing anything.
Dialing in ratio, grind, temperature, time, and pouring
Each variable has a different job. Keep the baseline stable, taste the cup, and adjust the variable that best matches the problem.
- Ratio sets concentration. The baseline is 15 g coffee to 240 g water, or 1:16. More coffee or less water makes a stronger drink; less coffee or more water makes a weaker one. Coffee-to-water ratio covers scaling and strength in more detail.
- Grind controls resistance and extraction rate. Start medium-fine. A finer grind usually slows flow and extracts more; a coarser grind usually speeds flow and extracts less. Make small changes and read grind size before chasing grinder-specific settings.
- Temperature changes how readily water extracts flavor. About 93 °C is a versatile start. A harder-to-extract light roast may respond to hotter water, while a developed dark roast may taste cleaner with cooler water. See water temperature for useful ranges.
- Contact time is evidence, not the goal. Brew time reflects grind, dose, filter, pouring, and the coffee itself. Use 2:30-3:15 as a diagnostic neighborhood, then let taste decide. Brew phases and time explains what happens during each stage.
- Bloom supports even saturation. The 45 g bloom is three times the coffee dose, enough to wet a medium-fine bed reliably. If you want to adapt it to roast age or bed behavior, continue to bloom strategies.
- Pouring controls distribution and agitation. Keep the stream low and repeatable. Change the number or placement of pours only for a reason; pour technique and pour patterns hold the specialist detail.
The final drain can reveal a clog, uneven bed, or water bypassing the coffee, but appearance alone does not prove how the cup tastes. Use drawdown to interpret it alongside flavor.
Troubleshooting strength and extraction separately
Strength is concentration: how intense or dilute the drink feels. Extraction is how much flavor water dissolved from the grounds and how balanced those flavors are. They are separate axes. A weak cup can still be bitter, and a strong cup can still be sour.
| What you taste | What it suggests | Change for the next brew |
|---|---|---|
| Weak but balanced | Concentration is too low | Use slightly more coffee or less water; keep grind and pouring unchanged. |
| Strong but balanced | Concentration is too high | Use slightly less coffee or more water; keep grind and pouring unchanged. |
| Sour, sharp, or hollow | Under-extraction | Grind one small step finer; keep the 1:16 ratio and other variables unchanged. |
| Bitter, drying, or harsh | Over-extraction or uneven flow | Grind one small step coarser first; keep the ratio and pouring unchanged. |
| Weak and bitter | Low concentration plus excessive or uneven extraction | First reduce bitterness with one coarser grind step. If the next cup is balanced but still weak, strengthen the ratio on a later brew. |
| Strong and sour | High concentration plus under-extraction | First grind one small step finer. If the next cup is balanced but still too intense, weaken the ratio on a later brew. |
Change only one variable per brew and write it down. If the result moves in the right direction, repeat or make one more small adjustment. If it moves the wrong way, return to the previous setting rather than compensating with several new changes.
Choosing a dripper
All four brewers can make excellent coffee. Choose by the workflow and cup style you want, not by the idea that one is universally best.
- V60: an open cone with little built-in flow restriction. It rewards controlled pouring and makes grind changes easy to taste. A good choice for clarity and hands-on learning. Read the V60 guide.
- Kalita Wave: a flat-bottom brewer with more restricted drainage. It tends to be forgiving of small pouring errors and is a practical choice for balanced sweetness and body. Read the Kalita Wave guide.
- Chemex: a brewer and server that uses thick paper. It favors a very clean cup and often suits larger batches, but its slower filter may need a coarser grind and patient pouring. Read the Chemex guide.
- Origami: a fast, deeply ribbed dripper that can use conical or wave-style papers. It is flexible, but filter choice changes its behavior, so keep the paper consistent while dialing in. Read the Origami guide.
Pour-over coffee FAQ
Is pour-over the same as filter coffee?
Pour-over is one kind of filter coffee: water passes through grounds and a filter under gravity. Automatic drip machines also make filter coffee, but they automate the water delivery. This guide is specifically for manual pour-over.
Do I need a gooseneck kettle?
No. It helps you control flow rate and placement, especially with an open brewer such as a V60 or Origami. With a standard kettle, pour gently, keep the spout close to the bed, and use fewer pours if that gives you better control.
Should I rinse the paper filter?
Rinsing seats the paper and preheats the brewer. It is particularly useful with thick Chemex papers. With many V60, Kalita, and Origami papers, any flavor difference may be small, so compare rinsed and unrinsed brews with your own filter and water.
Can I use pre-ground coffee?
Yes, although it gives you less control because grind size is the main adjustment for flow and extraction. Buy an amount you can use while it still smells fresh, seal it well, and use ratio or temperature for modest corrections when you cannot change the grind.
Why did my brew miss the target time?
Coffee density, roast, grinder, fines, filter paper, dripper, and pouring all affect flow. Taste before correcting the clock. If the cup is balanced, a brew outside 2:30-3:15 may not need fixing; if it is sour and fast or bitter and stalled, make one small grind change.
Next lessons and recipes
Build the fundamentals in this order: grind size, water temperature, coffee-to-water ratio, the bloom, pour technique, and brew phases and time. When those are repeatable, explore pour patterns and drawdown.
For complete method recipes with their own doses, timing, and pouring plans, browse the V60 recipes, Chemex recipes, Kalita recipes, and Origami recipes, or start from the full recipe library.